
Door won’t lock? Key spinning in the barrel? Handle gone floppy? Most UPVC and composite door faults are a failed multi-point mechanism or a worn euro cylinder, not a new door. Sam carries the common parts on the van and fixes most the same day. Fixed price before we start. No call-out fee.


UPVC and composite doors lock using a multi-point mechanism, a long strip running down the edge of the door that throws several hooks, rollers or bolts into the frame when you lift the handle and turn the key. The barrel you put your key into is a separate part called a euro cylinder. When one of these fails, the door stops working, but the door slab itself is almost always fine.
That matters because the difference in cost is significant. A replacement door can run into hundreds of pounds and weeks of waiting. A failed gearbox or cylinder is a same-day repair from £120, parts included, in most cases. Before anyone quotes you for a whole new door, it’s worth having a locksmith check the mechanism.
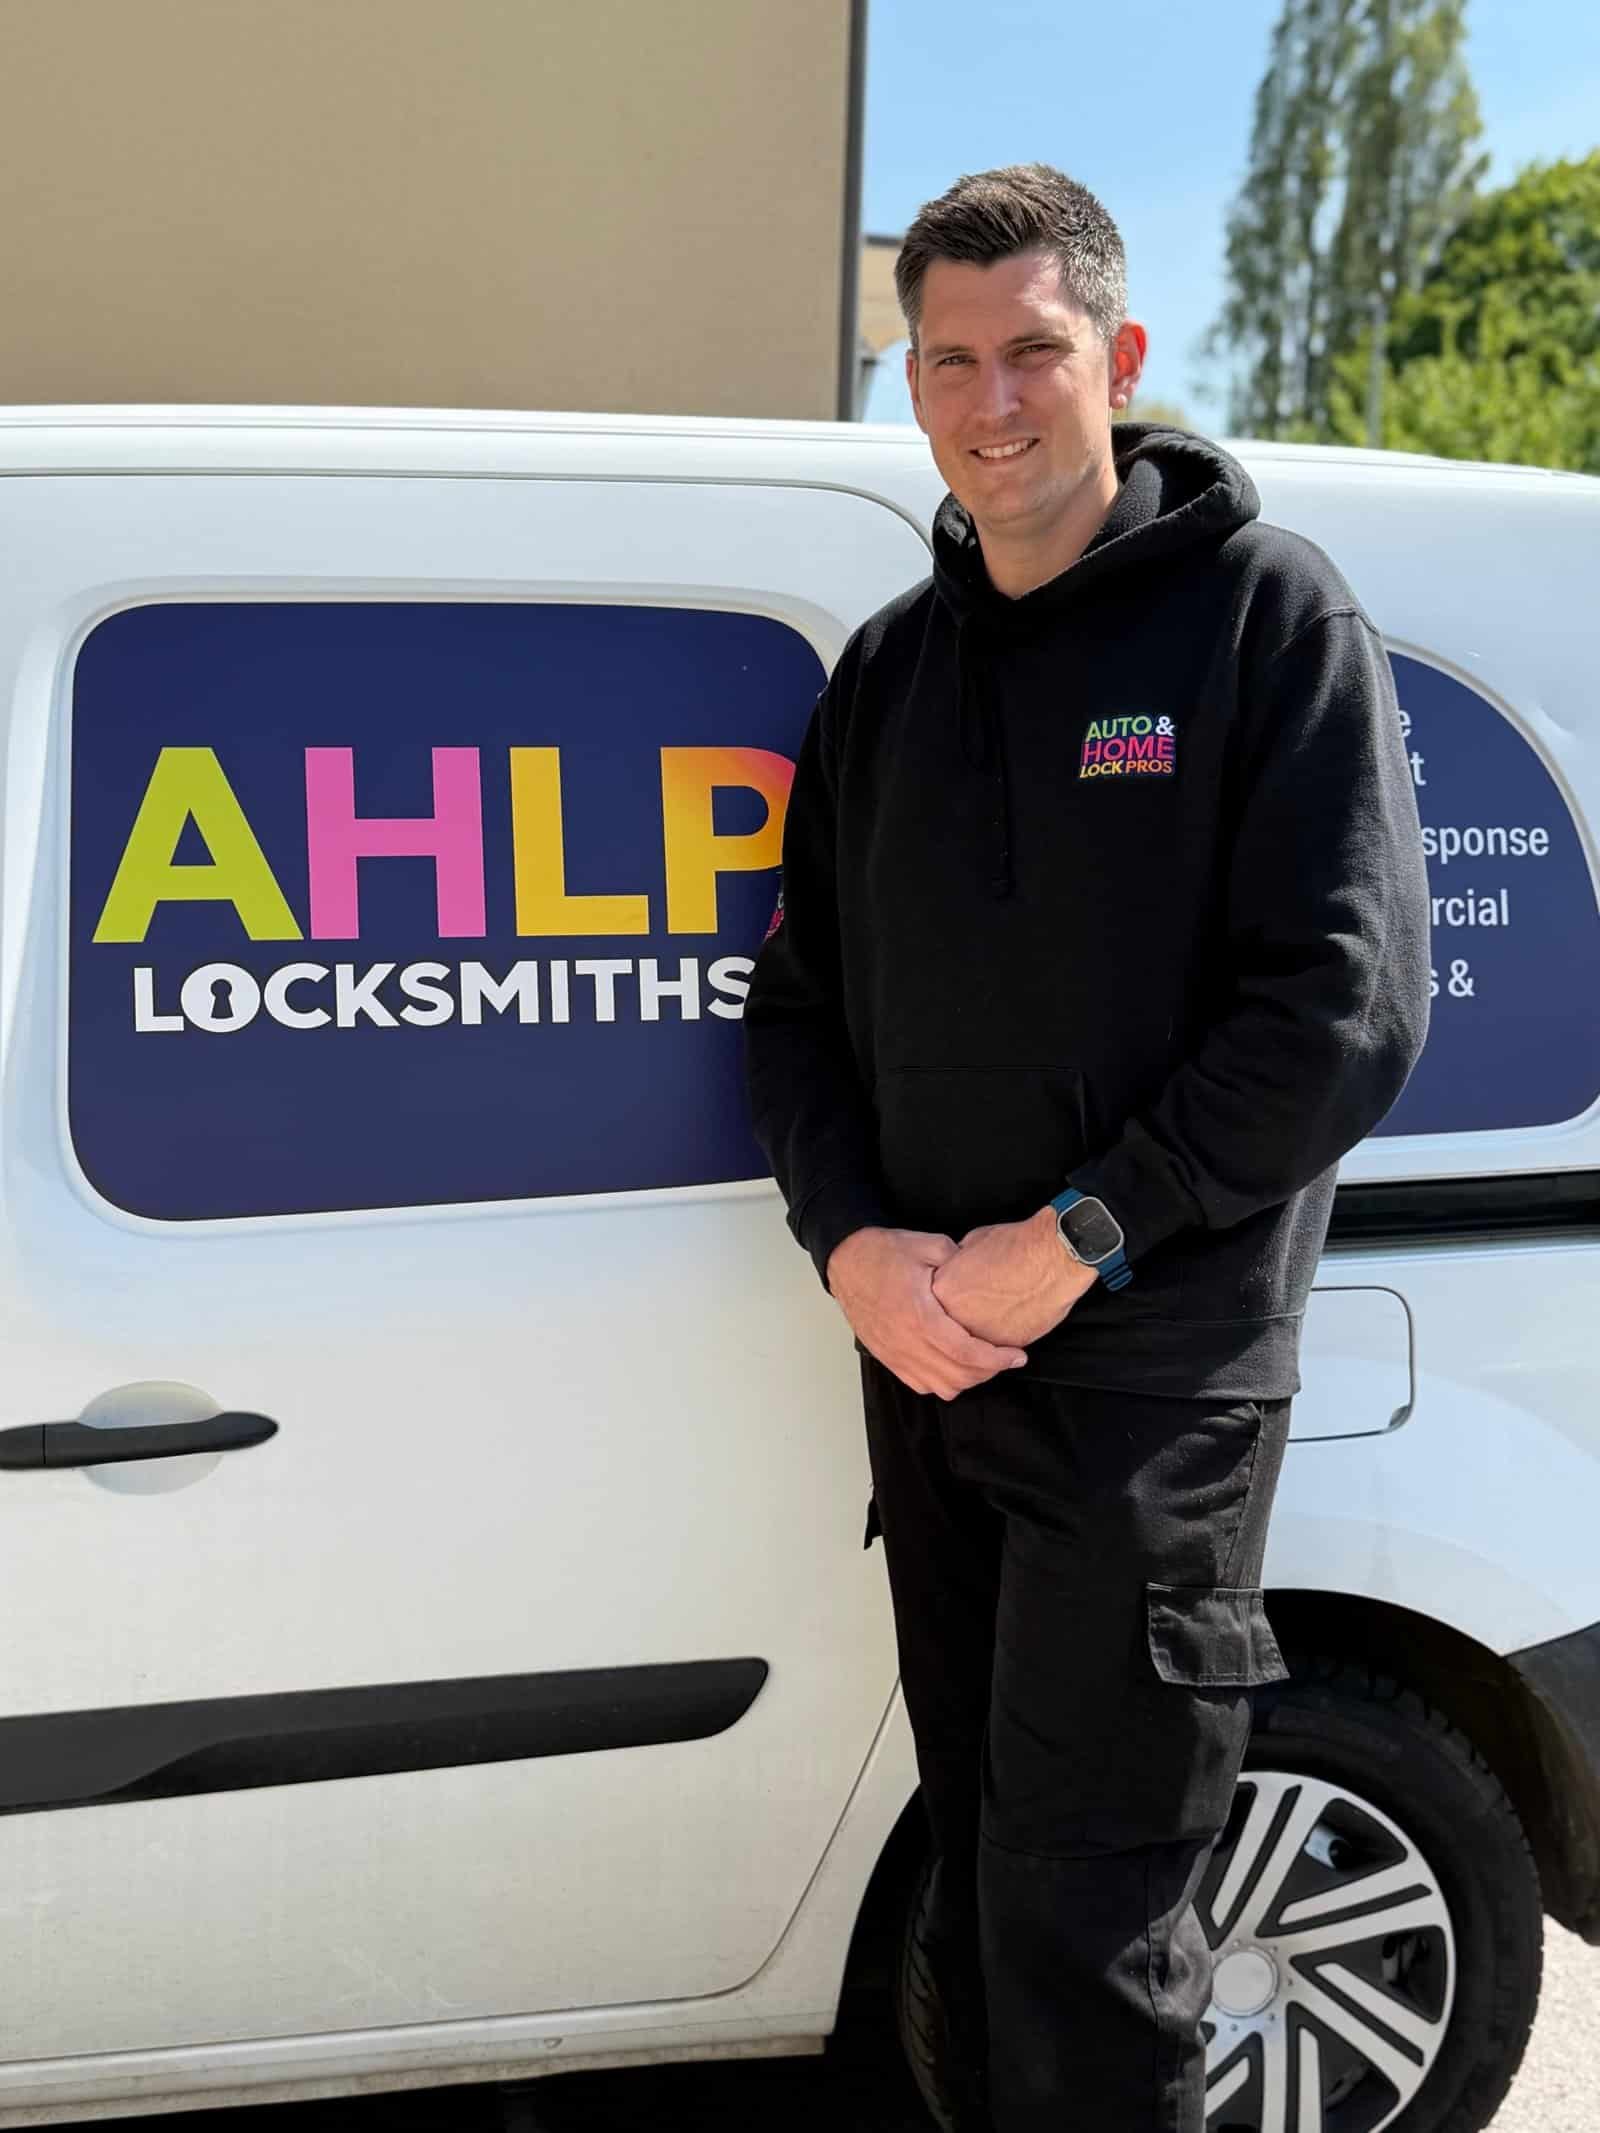
Sam covers UPVC and composite door repairs across Bristol and South Gloucestershire, carries the common mechanisms and cylinders on the van, and gives you a fixed price before starting. If a part genuinely does need ordering, he’ll tell you that upfront, no surprises.
If your door is doing any of these, it’s a mechanism or cylinder issue, and almost always repairable the same visit.
The most common fault. The gearbox inside the multi-point mechanism has worn or snapped, so the hooks no longer throw. A replacement mechanism resolves it.
A loose or sagging handle that won’t lift properly usually means the gearbox spindle has failed. We replace the mechanism and re-align the door so it lifts cleanly again.
A worn euro cylinder grips the key and can snap it. We extract the broken key, replace the cylinder, and can upgrade you to a 3-star anti-snap version at the same time.
If you’re lifting hard to lock, the door has dropped on its hinges and is straining the mechanism. We re-align and adjust so it locks without force, which prevents the next breakdown.
If a failed mechanism has locked you out, we open the door non-destructively wherever possible, then fit the replacement part, 24/7, fixed price before we start.
Many older UPVC cylinders don’t meet current insurance standards. We fit BS3621 and 3-star anti-snap cylinders from £140 so your cover stays valid and your door is properly protected.
Most companies won’t show you prices. We publish ours. You’ll always get a fixed quote before we start, with no call-out fee and no hidden charges.
All prices include labour and parts. Out-of-hours callouts may carry a small supplement, always confirmed before you commit. We never start work without agreeing a price first.
Exact price depends on the mechanism brand and door type, always confirmed before we start. Call 07700 100146 for a same-day quote.
Sam covers Bristol city and the wider South Gloucestershire, North Somerset and Gloucestershire areas. Select your location for specific information.
Most UPVC and composite door faults are fixed the same day, fixed price before we start. No call-out fee. Sam answers.
07700 100146 Available 24/7 · Bristol & South Gloucestershire · No call-out fee