

Most homeowners in Bristol understand that upgrading door security has never felt more urgent, especially following a recent spike in break-ins. A surprising 54 percent of burglars enter through the front or back door in British homes, exposing weaknesses many people overlook. By assessing every lock and matching your security approach to the unique standards of British properties, you can make smarter choices and safeguard your home with confidence—no locksmiths required.
Table of Contents
- Step 1: Assess Your Current Door Lock And Security Needs
- Step 2: Choose The Right Replacement Lock For Your Door
- Step 3: Gather The Necessary Tools And Materials
- Step 4: Remove The Existing Door Lock Carefully
- Step 5: Fit And Install The New Door Lock Securely
- Step 6: Test The New Lock For Smooth Operation And Safety
Quick Summary
| Key Point | Explanation |
|---|---|
| 1. Assess your current locks | Examine each external door lock for wear, damage, and compliance with British Standard BS3621. |
| 2. Choose a suitable replacement | Select locks based on door material, ensuring they meet security specifications for optimal protection. |
| 3. Gather essential tools | Prepare a toolkit including screwdrivers, drill, and lubricants to ensure a smooth installation process. |
| 4. Follow careful removal steps | Document the existing lock’s setup, removing components meticulously to avoid damaging the door. |
| 5. Test the new lock thoroughly | After installation, verify the lock’s functionality across different scenarios to ensure safety and performance. |
Step 1: Assess your current door lock and security needs
Before replacing your door locks, a thorough assessment of your current home security situation is essential. This initial evaluation will help you understand precisely what improvements are needed to protect your property effectively. Understanding home security requirements starts with a comprehensive review of your existing door hardware and potential vulnerabilities.
Begin by examining each external door lock in detail. Look for signs of wear such as rust, loose mechanisms, damaged strike plates, or visible marks around the keyhole that might indicate previous tampering. Check whether your current locks meet British Standard BS3621 security specifications. Most home insurance policies require these standards for comprehensive coverage. Pay special attention to your front and rear doors, as these are typically the primary entry points for potential intruders. Inspect the door frame integrity alongside the lock mechanism to ensure a complete security assessment.

Identify any specific security weaknesses unique to your home’s construction. Older properties might have outdated lock systems that are more susceptible to break-ins, while newer homes could benefit from modern anti-snap cylinder locks. Consider factors like the door material wood, uPVC, or composite and the type of lock currently installed mortice, cylinder, or multipoint locking systems. Your goal is to create a detailed snapshot of your current security status that will guide your lock replacement strategy.
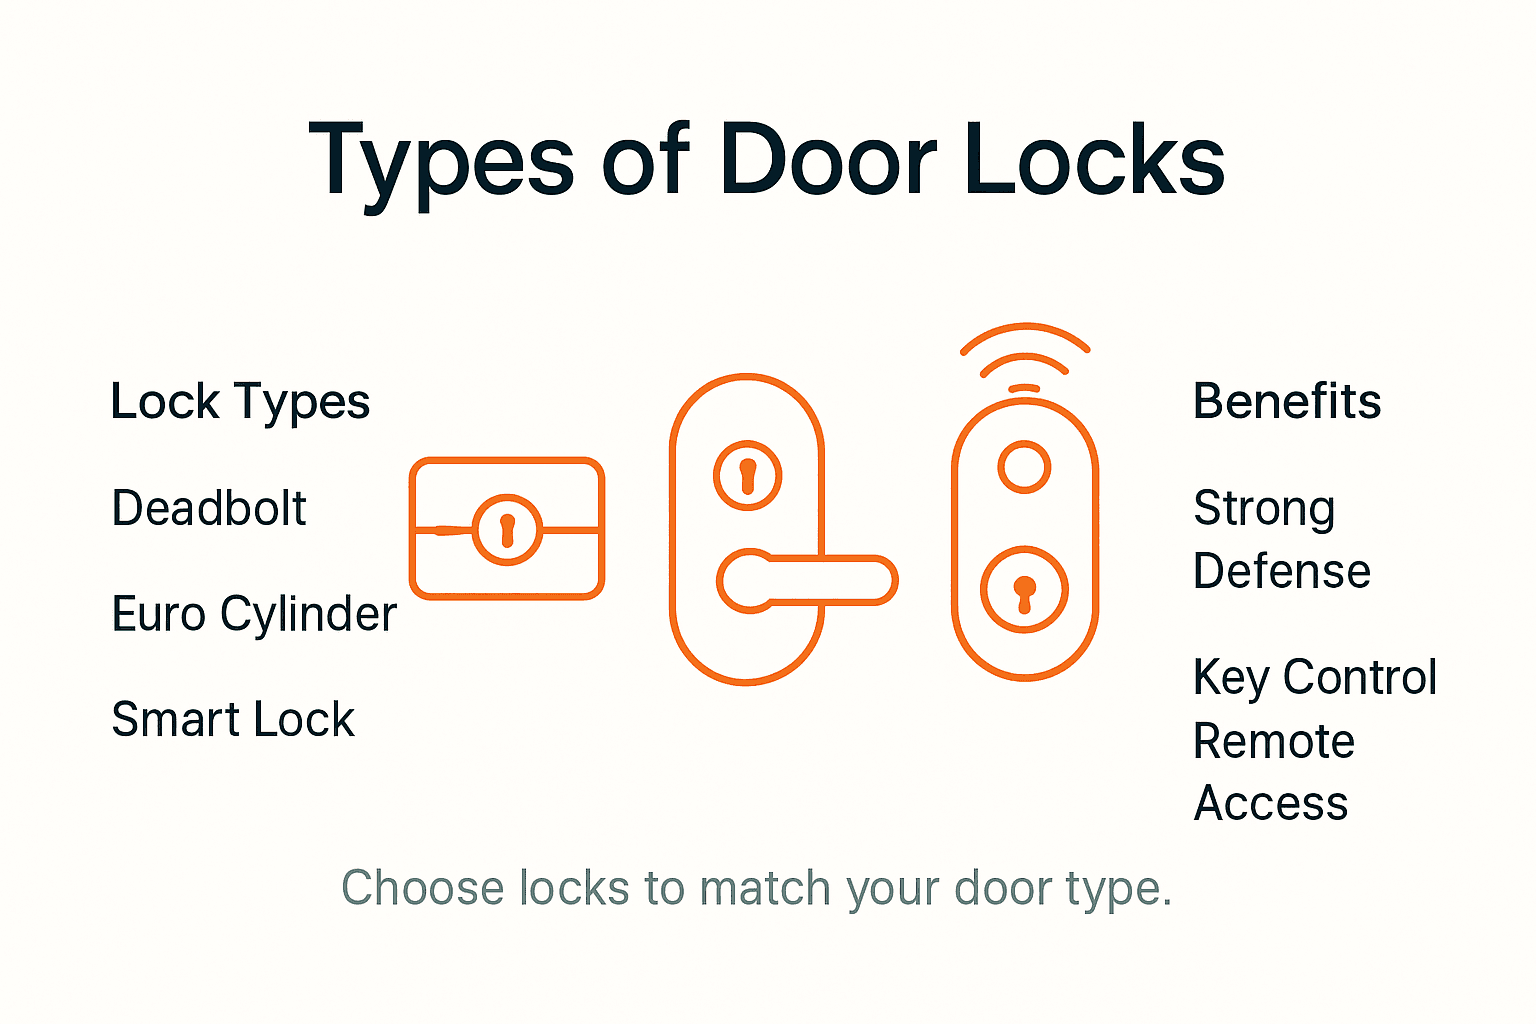
Here is a comparison of common door lock types and their ideal applications:
| Lock Type | Suitable Door Material | Security Benefit |
|---|---|---|
| Mortice Lock | Wooden | High resistance to force |
| Cylinder Lock | uPVC or Composite | Supports anti-snap options |
| Multipoint Lock | uPVC, Composite | Locks door at multiple points |
| Rim Lock | Wooden | Often used for extra security |
Professional tip: Take clear photographs of your existing locks from multiple angles before beginning any replacement process. These images will help locksmith professionals provide more accurate advice and ensure you select the most appropriate replacement locks for your specific door configuration.
Step 2: Choose the right replacement lock for your door
Selecting the appropriate replacement lock is critical for maintaining robust home security. Your goal in this step is to identify a lock that not only matches your door specifications but also provides maximum protection against potential intrusions. Door security recommendations suggest focusing on several key factors when making your selection.
Start by matching the lock type to your specific door material and construction. Wood, uPVC, and composite doors each require different locking mechanisms. For external doors, the Association of British Insurers strongly recommends installing locks that meet British Standard BS3621 security specifications. These standards ensure your lock provides a minimum level of resistance against forced entry. Look for multi-point locking systems that secure the door at multiple points along the frame, creating a much stronger barrier against potential break-ins. Pay attention to the number of locking points. 3 or 5-point systems offer superior protection compared to single-point locks.
Consider additional security features when choosing your replacement lock. Cylinder locks with anti-snap technology provide extra protection against a common burglary technique known as lock snapping. Consider integrated security features like key-operated locks with additional security restrictors or door viewers that allow you to see who is outside without compromising your safety. Compatibility with your existing door frame and ease of installation are also crucial factors to evaluate during your selection process.
Professional tip: Always keep your original lock measurements and door specifications handy when shopping for a replacement. Bringing precise measurements and photographs will help ensure you select a lock that fits perfectly and provides optimal security for your home.
Step 3: Gather the necessary tools and materials
Preparing for a lock replacement requires careful planning and assembling the right equipment. Your goal is to collect all required tools and materials before starting the project to ensure a smooth and efficient installation process. While no specific external guide covers this comprehensive preparation, professional locksmiths recommend a systematic approach to tool selection.
Your essential toolkit should include precision screwdrivers, both flathead and Phillips head in multiple sizes, an electric drill with various drill bit sizes, a hammer, measuring tape, a metal file, an adjustable wrench, a chisel, and protective safety glasses. For materials, you will need the replacement lock mechanism, matching screws, lubricating graphite powder, and potentially wood filler or metal putty if you need to adjust the door frame. Select high-quality replacement screws that match the length and threading of your original lock hardware to ensure secure installation.
Pay special attention to compatibility between your new lock and the existing door structure. Measure the existing lock cylinder diameter, backset distance, and door thickness precisely before purchasing your replacement. Take photographs of your current lock configuration from multiple angles to reference during installation. Organised preparation prevents frustrating interruptions and ensures you have everything needed to complete the lock replacement efficiently and professionally.
To assist your preparation, here is a checklist of essential tools and their purposes:
| Tool | Purpose | Example Application |
|---|---|---|
| Precision Screwdriver | Removing screws | Detaching door handles |
| Electric Drill | Making holes | Fitting a new lock mechanism |
| Measuring Tape | Accurate measurements | Checking lock cylinder and backset size |
| Safety Glasses | Eye protection | Preventing injury during drilling |
Professional tip: Create a dedicated workspace with good lighting and a clear flat surface where you can lay out all your tools and materials before beginning the lock replacement process. This approach helps prevent losing small components and allows you to work methodically and safely.
Step 4: Remove the existing door lock carefully
Removing an existing door lock requires precision and patience to prevent damage to your door or the surrounding structure. Professional lock maintenance guidelines emphasise the importance of careful disassembly and understanding your specific lock mechanism before beginning the removal process.
Start by examining the current lock configuration and documenting its exact placement. Remove the interior and exterior door handles first by locating and unscrewing the mounting screws, typically hidden beneath decorative covers. Carefully extract these screws using your precision screwdriver set and keep them organised in a small container to prevent losing any components. Next, focus on removing the lock cylinder and mechanism, paying close attention to how each piece connects. For uPVC or composite doors with multipoint locking system,s exercise extra caution as these mechanisms are more complex and can be easily damaged during removal.
Before proceeding with complete lock removal, consult housing regulations , particularly if you live in shared accommodation or a rental property. Some housing associations require prior approval for lock replacements to ensure compliance with building and fire safety standards. Inspect the door frame for any signs of wear or damage that might need addressing during the lock replacement process. Clean the area thoroughly and check for any rust or structural issues that could impact your new lock installation.
Professional tip: Take clear photographs of the existing lock from multiple angles before disassembly. These images will serve as a valuable reference point if you encounter any challenges during the removal or installation process.
Step 5: Fit and install the new door lock securely
Installing a new door lock requires meticulous attention to detail and precise alignment to ensure optimal security and functionality. Lock installation techniques demand careful preparation and systematic implementation of each component to create a robust locking mechanism.
Begin by dry-fitting the new lock mechanism into the existing door frame to verify precise measurements and alignment. Test the backset distance and ensure the new lock matches the exact specifications of the previous installation. Apply a thin layer of graphite powder to the lock mechanism to reduce friction and facilitate smooth operation. Carefully insert the lock cylinder first, ensuring it sits perfectly flush with the door surface. Secure the internal mounting plate with precision screwdrivers, making certain each screw is tightened uniformly without overtightening, which could potentially damage the lock mechanism or door material.
For multipoint locking systems such as those found in uPVC and composite doors, pay extra attention to synchronising all locking points. Engage each locking point manually to confirm they move simultaneously and create a tight seal when the door is closed. Test the new lock multiple times through its full range of motion, checking for any resistance or misalignment. Verify that the key turns smoothly and the door opens and closes without undue pressure or unexpected friction. Clean any metal shavings or debris from the installation area to prevent future mechanical issues.
Professional tip: Always keep the original packaging and installation instructions for your new lock. These documents often contain specific manufacturer guidance and can be invaluable if you encounter any installation challenges or need future reference.
Step 6: Test the new lock for smooth operation and safety
After installing your new lock, comprehensive testing is crucial to ensure both functionality and security. Lock maintenance strategies recommend a systematic approach to verifying your lock’s performance across multiple operational scenarios.
Begin by testing the lock through its complete range of motion from both the interior and exterior sides of the door. Check that the key enters smoothly without resistance and turns completely through 360 degrees. Engage the locking mechanism multiple times, noting any stiffness or unusual sounds. For multipoint locking systems, confirm each securing point moves simultaneously and creates an even seal when the door closes. Pay special attention to how the lock mechanism interacts with the door frame, ensuring there are no gaps or misalignments that could compromise security.
Conduct additional safety tests by deliberately attempting different scenarios, such as partial key insertion, partial rotation and testing the lock under varying pressure conditions. Verify that the key cannot be removed when the door is in an unsecured position and that the mechanism remains stable under different temperature and humidity conditions. If you encounter any inconsistencies or unexpected behaviours during testing, immediately review your installation or consider consulting a professional locksmith for a comprehensive assessment.
Professional tip: Create a small log documenting your lock installation date, performance observations and any adjustments made. This record can be invaluable for future maintenance and can help identify potential issues before they become significant problems.
Secure Your Home with Expert Locksmith Solutions
Replacing your door locks is an important step to enhancing your home security and preventing potential break-ins. This article highlights the critical need for selecting the right lock type, understanding lock mechanisms like anti-snap cylinders, and properly installing multipoint locking systems to safeguard your property. If you have identified worn locks, outdated mechanisms, or concerns about your current door security setup, you are not alone. Many homeowners face these challenges but lack the expertise or tools to execute a flawless lock replacement.
AHLP Locksmiths specialise in providing professional, reliable Locksmith Services – Auto Home Lock Pro that cover everything from installing British Standard BS3621 approved locks to repairing UPVC and composite door mechanisms. Whether you are upgrading to anti-snap locks or need a full security consultation, our family-run team ensures a non-destructive, efficient service that prioritises your safety and peace of mind. Don’t wait until a security breach happens. Benefit from fast response times and transparent pricing by contacting our experts today.
Take the next step in protecting your home by scheduling a visit with AHLP Locksmiths. Reach out to us through our contact page and secure your property with the trusted professionals who understand your security needs. For urgent issues or lockouts, our Emergency Locksmith – Auto Home Lock Pro team is ready to assist you immediately. Secure your peace of mind now with AHLP Locksmiths.
Frequently Asked Questions
How do I assess my current door lock and security needs?
To assess your current door lock and security needs, examine each external door lock for signs of wear and compatibility with British Standard BS3621. Look for rust, loose components, or damage, and evaluate the overall door frame’s condition.
What factors should I consider when selecting a replacement lock?
When selecting a replacement lock, consider the door material and the type of lock that fits, as well as additional features like anti-snap technology. Ensure the new lock meets British Standard BS3621 for enhanced security and check for multi-point locking systems for added protection.
What tools do I need for the door lock replacement process?
You will need precision screwdrivers, an electric drill, a measuring tape, and safety glasses for a comprehensive lock replacement. Gather all tools and ensure you have the necessary materials, like the replacement lock and high-quality screws, before starting the installation.
How can I remove my existing door lock without damaging the door?
To remove your existing door lock carefully, document the lock’s configuration and remove the handles first by unscrewing them. Keep screws organised, and pay attention to complex mechanisms, especially in multipoint locking systems, to avoid damage during removal.
What steps should I follow to install the new door lock securely?
When installing a new door lock, begin by dry-fitting the mechanism to check alignment and measurements before securing the internal plate with screws. Apply graphite powder for smooth operation and ensure each locking point functions properly if using a multipoint system.
How do I test the new lock for proper operation?
After installation, test the new lock by turning the key and engaging the locking mechanism multiple times to check for smooth movement. Ensure all locking points seal properly and maintain a log of your observations for future reference if any issues arise.