

Most british homeowners underestimate how much security hinges on a properly installed door lock. Statistics reveal that over 60 percent of break-ins could be prevented with upgraded locks and careful installation. Tackling this job yourself not only saves money but also brings peace of mind knowing your family is protected. With the right approach, you can confidently fit a new lock like a professional, using simple tools and easy step-by-step methods.
Table of Contents
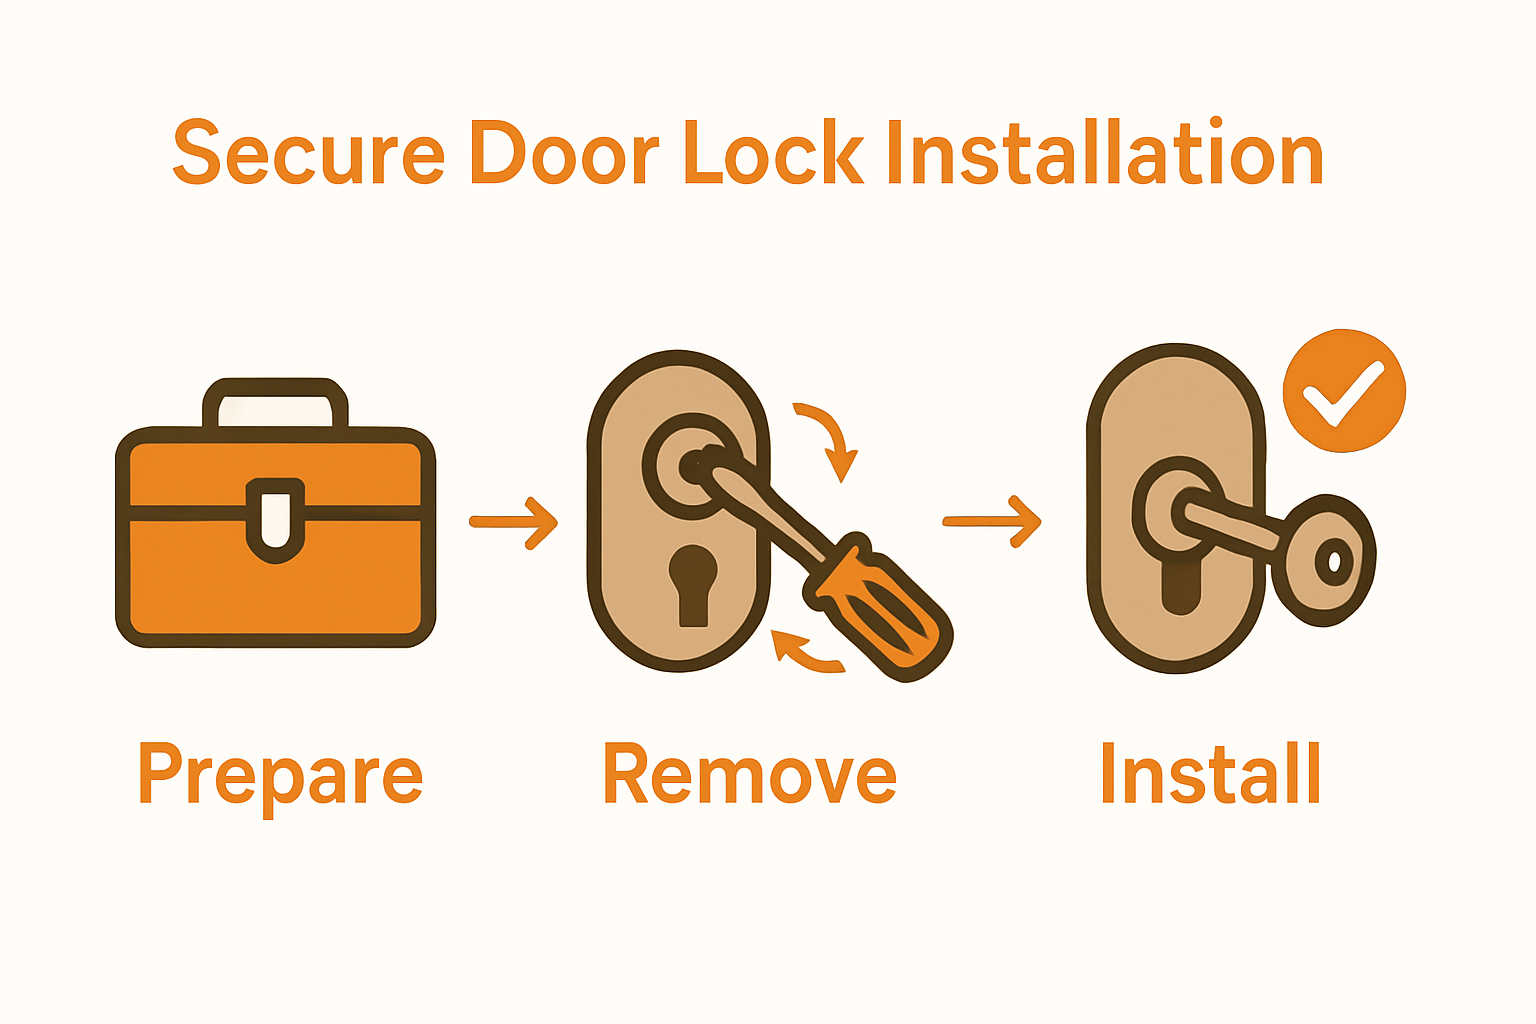
- Step 1: Gather the Right Tools and Materials
- Step 2: Remove the Existing Door Lock Carefully
- Step 3: Install the New Lock Mechanism Securely
- Step 4: Test and Adjust the New Lock for Smooth Operation
- Step 5: Check Security and Clean Up the Work Area
Quick Summary
| Key Point | Explanation |
|---|---|
| 1. Gather essential tools first | Ensure you have safety goggles, a tape measure, screwdrivers, a hammer, a chisel, a hacksaw, and a pencil before starting. |
| 2. Remove the old lock carefully | Identify securing screws and use the key to align and extract the lock without damaging the door. |
| 3. Install the new lock precisely | Measure the new lock, insert it, tighten the screws, and test for functionality on both sides. |
| 4. Test the new lock thoroughly | Turn the key and check alignment; adjust if any resistance is encountered during operation. |
| 5. Secure and clean the workspace | Ensure all screws are tightened and clean the area to maintain security and tidiness after installation. |
Step 1: Gather the Right Tools and Materials
Changing a door lock requires precise preparation and the right equipment to ensure a smooth, successful installation. Before diving into the task, you will need to assemble a comprehensive toolkit that will make the job efficient and professional.
According to home improvement experts, your essential toolkit should include several key items: safety goggles to protect your eyes, a tape measure for accurate sizing, both flathead and cross-head screwdrivers, a hammer for securing components, a wood chisel for fine adjustments, a hacksaw for potential modifications, and a pencil for marking measurements. These tools will help you navigate the lock replacement process with confidence and precision.
One critical tip: always wear your safety goggles throughout the process. Lock replacement involves several steps where metal or wood fragments could potentially fly, and protecting your eyes is paramount. Double-check that your new lock matches the dimensions of your existing door mechanism before beginning, which will save you time and potential frustration later.
With your tools prepared and safety measures in place, you are now ready to move on to the next stage of lock replacement. Your careful preparation will set the foundation for a successful home security upgrade.
Step 2: Remove the Existing Door Lock Carefully
Now that you have gathered your tools, the next critical stage is removing the current door lock without damaging your door or surrounding hardware. This delicate process requires patience and precision to ensure a smooth transition to your new lock.
According to home improvement guidance, mortice locks are typically secured using two specific screws located at the top and bottom of the lock face. Begin by carefully opening the door and identifying these securing screws. When removing them, keep a steady hand and ensure your screwdriver fits precisely to prevent stripping the screw heads.
As you prepare to extract the lock mechanism, position the key and gently manipulate it to align the cam by turning it to the left or right. This alignment allows the lock to slide out smoothly towards you. Work slowly and methodically, supporting the lock as you remove it to prevent any unexpected dropping or potential damage to the door.
One crucial tip: place a soft cloth or towel beneath your work area to catch any small parts and protect your floor or work surface from potential scratches. With the old lock carefully removed, you are now prepared to move on to installing your new door lock mechanism.
Step 3: Install the New Lock Mechanism Securely
With the old lock removed, you are now ready to carefully install your new door lock mechanism. This critical step requires precision and attention to detail to ensure your home remains secure and the lock functions smoothly.
Before installation, carefully measure your lock from front to back, noting that most residential locks come in standard sizes like 64mm or 76mm. The specific measurement depends on your door type, with locks near glass panels typically being 64mm. Ensure you have selected a lock that matches your door’s exact specifications to guarantee a proper fit.
Insert the new cylinder into the lock mechanism and replace the fixing screws with careful attention. Tighten the handles gradually and use your key to test the lock’s functionality on both sides before fully closing the door. This step allows you to confirm smooth operation and proper alignment.
One crucial tip: work slowly and systematically. A rushed installation could compromise your lock’s performance and potentially leave your property vulnerable. Take your time to ensure each component is correctly positioned and functioning as intended. You are now ready to test and finalise your new lock installation.
Step 4: Test and Adjust the New Lock for Smooth Operation
With your new lock installed, the final stage involves careful testing and fine-tuning to ensure optimal security and functionality. This step is crucial for confirming that your lock operates precisely as intended.
Test the lock by turning the key and observing the bolt movement carefully. You want a smooth action without any stiffness or resistance. If you encounter any difficulties, this is the moment to make minor adjustments. Check the alignment between the lock mechanism and the door frame to ensure everything sits correctly.
Secure the strike plate with its supplied screws and then close the door completely to verify the bolt engages smoothly with the plate. Pay close attention to how the lock catches and releases, making certain there are no unexpected catches or misalignments that could compromise your door’s security.
One essential tip: patience is key during testing. Take time to operate the lock multiple times from both inside and outside, checking for consistent performance. By following a thorough lock maintenance checklist, you can ensure your new lock remains in top condition for years to come.
Step 5: Check Security and Clean Up the Work Area
With your lock installation complete, the final stage involves a comprehensive security review and workspace cleanup. These crucial final steps ensure your new lock functions perfectly and your work area remains tidy and safe.
Carefully check that all screws are fully tightened and the lock mechanism sits securely in place. Gently wiggle the lock to confirm there is no unnecessary movement or potential weakness in the installation. Your goal is to achieve a rock solid fit that provides maximum security for your property.
Clean the surrounding work area thoroughly, removing any wood shavings, metal filings, or dust that might have accumulated during the lock replacement process. Use a soft cloth or vacuum to collect debris and ensure your door and surrounding surfaces remain pristine. Wipe down the new lock with a clean cloth to remove any fingerprints or installation residue.
One final tip: take a moment to test the lock one last time after cleaning. This final check provides additional reassurance that everything remains perfectly aligned and functioning smoothly. Consulting a comprehensive lock maintenance checklist can help you establish ongoing care routines to keep your new lock in optimal condition.
Secure Your Home with Expert Lock Services from AHLP Locksmiths
Changing a door lock safely and securely at home can be challenging and time-consuming. From gathering the right tools to fine-tuning the lock mechanism, any small mistake could put your property at risk or lead to costly damage. Whether you are unsure about the correct measurements or want to avoid potential lock misalignment, trusting a professional can save you stress and protect what matters most.
At AHLP Locksmiths, we understand the importance of reliable lock installation and security upgrades. Our team offers comprehensive Locksmith Services – Auto Home Lock Pro designed to give you peace of mind. If you need urgent assistance or expert advice, our Emergency Locksmith – Auto Home Lock Pro team is ready to respond quickly across Bristol, South Gloucestershire and Gloucester. Don’t wait until a lock failure compromises your safety. Contact us today via https://ahlp.co.uk/contact/ to schedule a visit or discuss your specific lock needs with trusted professionals who care about your security.
Frequently Asked Questions
What tools do I need to change a door lock safely at home?
To change a door lock safely, you will need safety goggles, a tape measure, flathead and cross-head screwdrivers, a hammer, a wood chisel, a hacksaw, and a pencil. Gather these tools before starting the installation to ensure an efficient and secure process.
How can I remove an old door lock without damaging my door?
You can remove an old door lock by locating the screws at the top and bottom of the lock face, using the appropriate screwdriver to avoid stripping. Carefully support the lock as you extract it from the door to prevent any damage.
What steps should I take to install a new lock mechanism securely?
To install a new lock mechanism, first measure the lock for a proper fit, then insert the new cylinder and secure it with the fixing screws. Test the lock’s functionality before completely closing the door to ensure it operates smoothly.
How do I test my new door lock for smooth operation?
You can test your new door lock by turning the key to check the bolt’s movement. Ensure the lock operates smoothly without stiffness; if there are issues, make adjustments to align it correctly with the door frame.
What should I do after installing a new door lock?
After installing your new door lock, ensure all screws are tightened, and clean the work area to remove any debris. Perform a final functionality test of the lock to confirm everything is still aligned and operating correctly.