
Choosing the right lock for your Bristol or South Gloucestershire property can feel confusing when every door has its own demands. The security of your home or business relies on understanding how your door type shapes your lock options and why compliance with the latest British Standards matters for peace of mind. This guide gives you practical steps, from identifying your current lock and door through to professional installation, so you can confidently protect what matters most.
Table of Contents
- Step 1: Assess Your Lock And Door Type
- Step 2: Choose A Compliant Replacement Lock
- Step 3: Gather The Required Tools And Materials
- Step 4: Remove The Existing Lock Carefully
- Step 5: Install The New Lock Securely
- Step 6: Test And Verify Proper Lock Function
Lock Replacement Quick Summary
| Main Insight | Explanation |
|---|---|
| 1. Assess your lock and door type | Identify your door material and existing lock mechanism to choose suitable replacements. |
| 2. Ensure compliance with safety standards | Select a lock that meets British Standards for security to maintain insurance coverage. |
| 3. Prepare necessary tools and materials | Gather all required tools and materials before starting lock replacement to avoid issues later. |
| 4. Remove the old lock carefully | Use systematic removal techniques to prevent damage to your door while taking out the old lock. |
| 5. Test the new lock thoroughly | Conduct multiple tests of your newly installed lock to ensure proper function and security reliability. |
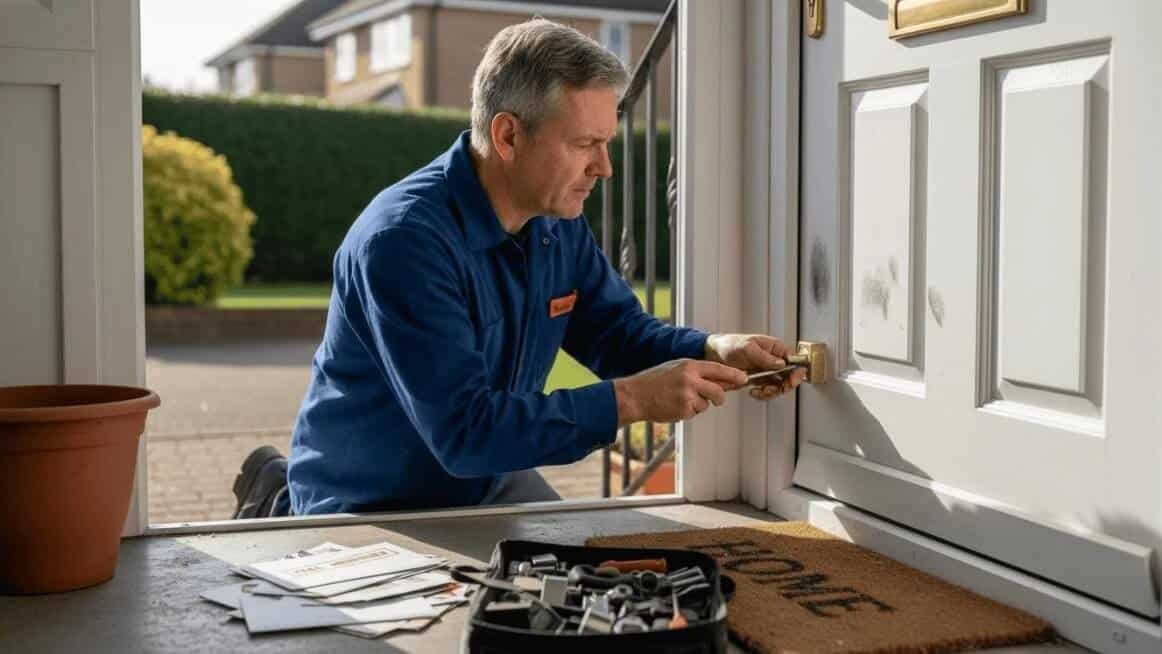
Step 1: Assess your lock and door type
Before you can choose the right replacement lock, you need to understand what you’re currently working with. Your door type fundamentally shapes which locks will work effectively and safely in your property. This step involves identifying both your door construction and existing lock mechanism so you can make informed decisions about upgrades or replacements.
Start by examining your door itself. Walk around your home or business and note the material and construction of each door. Are you looking at a wooden door, a UPVC composite door, or perhaps a fire-resistant door? The distinction matters significantly because different materials require different locking systems. Wooden doors typically accept mortice locks or rim locks, whilst UPVC doors need specific mechanisms designed for their frame structure. If you’re in a multi-occupancy building, fire safety regulations may apply, and understanding fire-resisting door requirements becomes important for compliance.
Next, examine your current lock closely. Look at the lock face to identify whether you have a mortice lock (sunk into the door edge) or a rim lock (surface-mounted). Check if it’s a five-lever mortice lock, a Euro cylinder lock, or something else entirely. For UPVC doors, you’ll likely see a multi-point locking system with a centre lock and shoot bolts. Understanding the different lock types available will help you recognise what you have and what might improve your security. Take photographs if helpful, and note any visible signs of wear, damage, or failed locking mechanisms. Check whether your locks feel stiff when operating or if keys turn smoothly. All these observations inform whether you need a straightforward replacement or a security upgrade. Pay special attention to whether your current lock meets insurance requirements for your property, as this often determines your replacement options.
Pro tip: Measure your door thickness and the backset distance (from the door edge to the lock centre) before contacting a locksmith, as this information speeds up the assessment and ensures the correct lock arrives for installation.
The following table highlights how different door types influence the choice of lock:
| Door Type | Suitable Locks | Special Considerations |
|---|---|---|
| Wooden | Mortice, Rim | Check for insurance compliance |
| UPVC Composite | Multi-point, Euro | Must match frame specifics |
| Fire-Resisting | Certified, Compliant | Must meet fire safety regulations |
| Metal/Steel | Heavy-duty, Euro | Check compatibility and security |
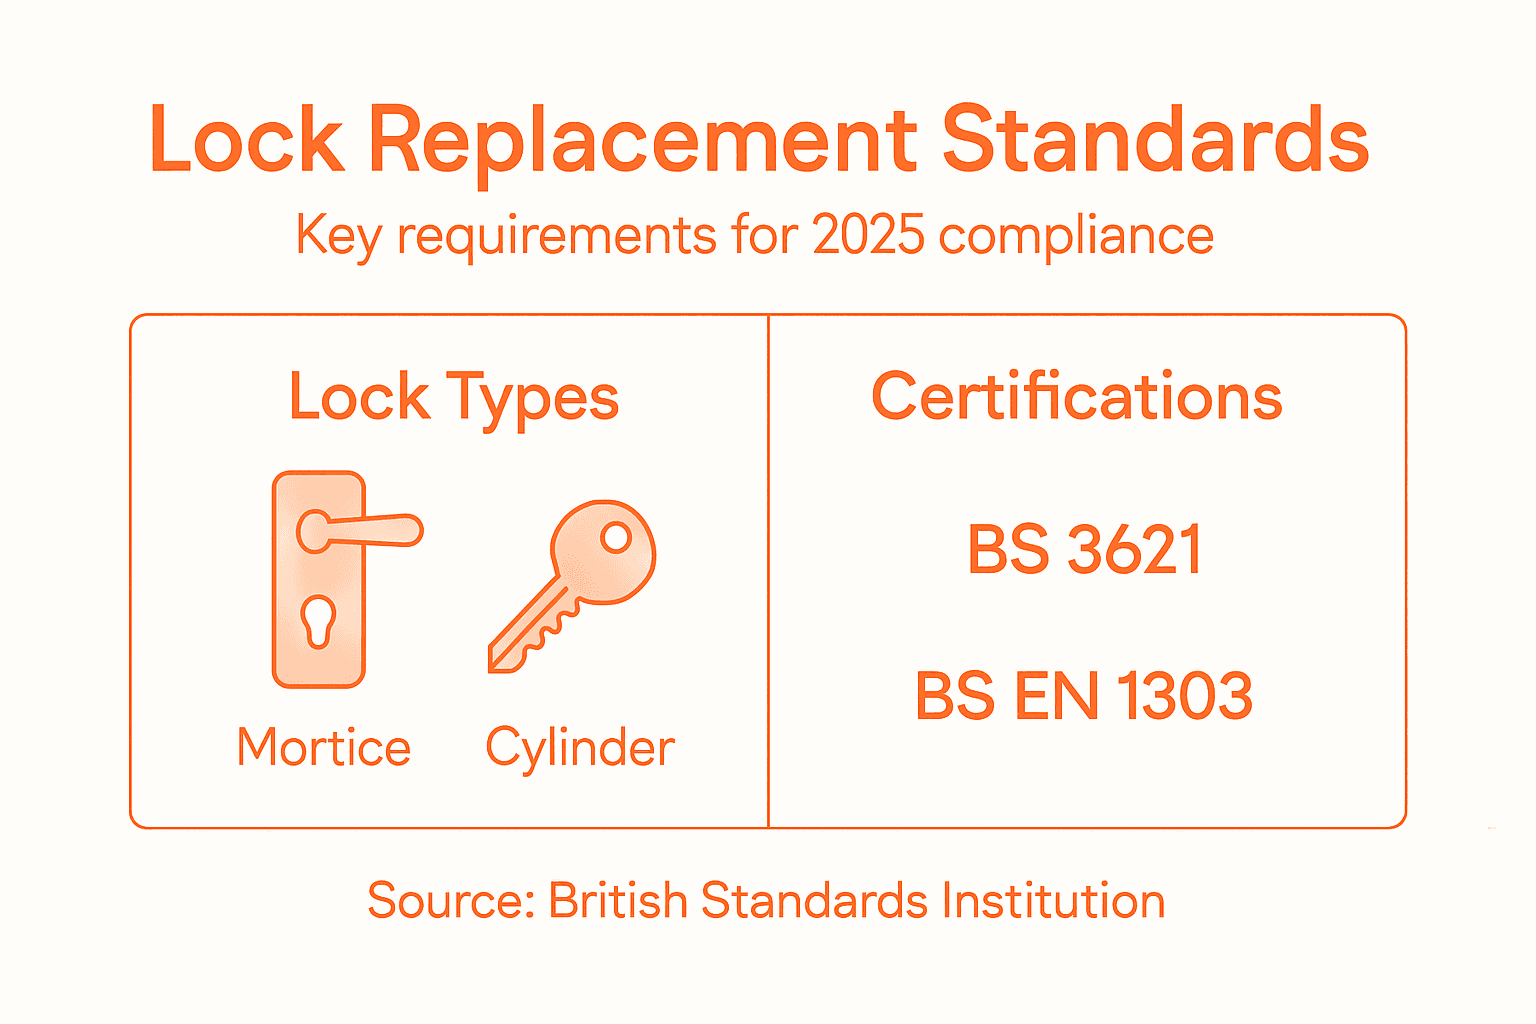
Step 2: Choose a compliant replacement lock
Selecting the right replacement lock goes beyond simply picking what looks good. Your new lock must meet current safety standards, comply with building regulations, and ideally satisfy your insurance requirements. This step guides you through understanding what makes a lock compliant and how to identify options that genuinely protect your property.
Start by checking what standards apply to your situation. The British Standards Institution has established rigorous requirements for locks, and knowing about BS EN 12209:2024 and BS EN 15685:2024 helps you understand the mechanical performance and security benchmarks your replacement should meet. These standards define requirements for both single-point and multipoint lock assemblies, ensuring any lock you choose has undergone proper testing. For residential properties in Bristol and South Gloucestershire, most standard mortice locks and Euro cylinder locks meet these standards when they carry British Standard certification. Look for locks marked with BS 3621 for five-lever mortice locks, or BS EN 1303 for cylinder locks. If your property is in a multi-occupancy building or a listed building, fire safety compliance becomes equally important. For commercial properties, the standards may differ, so check what your business insurance policy specifies.
Next, consider insurance requirements specific to your property. Most household insurance policies require locks to meet certain standards to maintain cover. Many insurers now insist on anti-snap locks for front and rear doors, particularly Euro cylinder locks that resist the common “lock snapping” attack. When you contact a locksmith about replacement options, ask specifically which locks they recommend meet your insurer’s requirements. This conversation prevents you from installing a compliant lock that still leaves your insurance invalid. Additionally, consider security upgrades beyond the minimum. Mortice locks with higher lever counts, reinforced strike plates, and anti-bump cylinders all provide additional protection. Your assessment from Step 1 has already identified your door type, so you now know whether you need mortice locks for wooden doors, multipoint locks for UPVC, or specialised systems for fire-resisting doors. The combination of door type, building regulations, and insurance standards creates a clear picture of what your replacement lock should be.
Professional tip: Request locks with British Standard certification numbers and ask your locksmith to verify compliance in writing, as this documentation supports any future insurance claims and proves you’ve met policy requirements.
Here is a quick reference to common British lock standards and their applications:
| Standard | Locks Covered | Typical Application |
|---|---|---|
| BS 3621 | Five-lever Mortice | Wooden front and back doors |
| BS EN 1303 | Euro Cylinder | UPVC, composite, and some metal doors |
| BS EN 12209 | Mechanically Operated | Commercial and residential |
| BS EN 15685 | Multipoint | UPVC, composite, commercial |
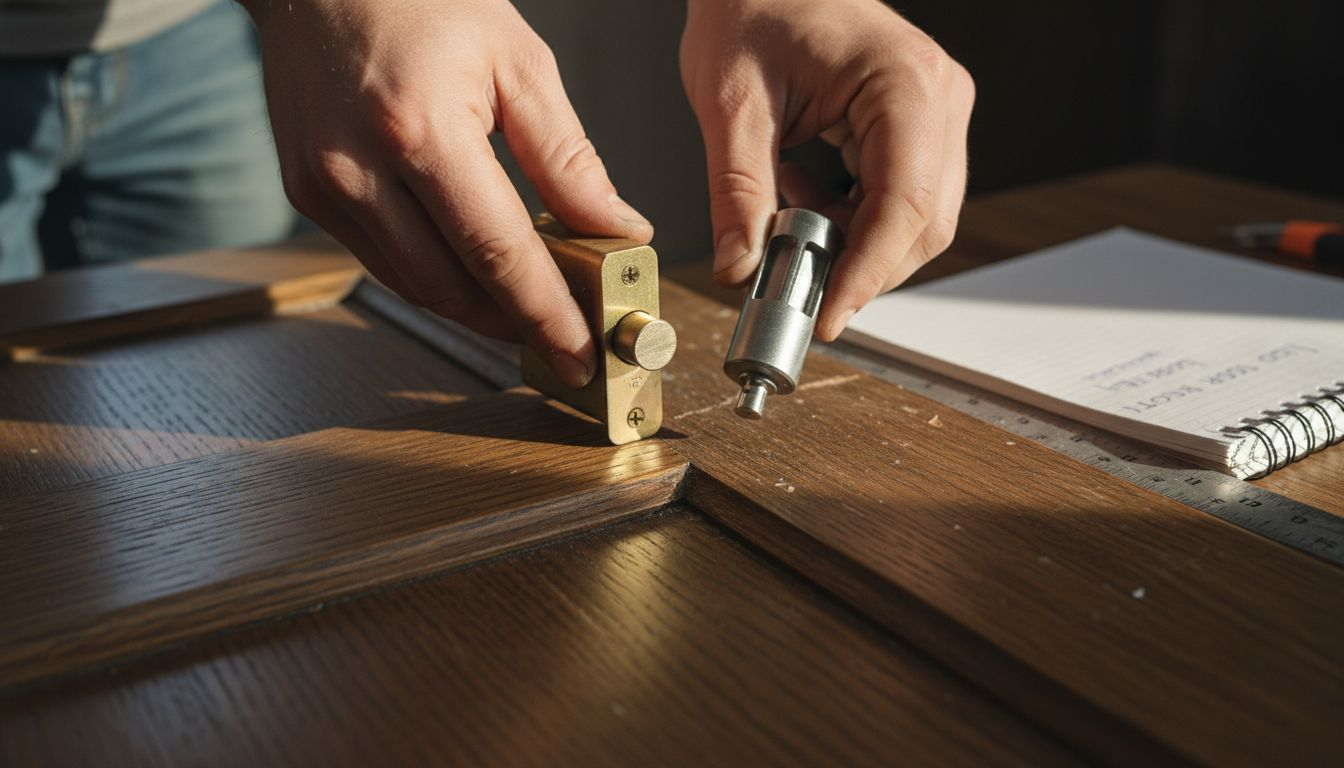
Step 3: Gather the required tools and materials
If you’re planning to replace a lock yourself, having the correct tools and materials prepared beforehand makes the job smoother and reduces the risk of damaging your door. This step ensures you have everything ready before you begin the actual replacement work.
Professional locksmiths typically bring a comprehensive toolkit to handle lock removal and installation efficiently. Understanding what essential tools locksmiths use gives you insight into what you’ll need for a DIY approach. At a minimum, you should gather a selection of screwdrivers in various sizes, both Phillips and flathead. Pliers are essential for removing components and handling small parts safely. A hammer or rubber mallet helps with gentle persuasion when removing stubborn lock mechanisms. A measuring tape ensures your new lock will fit correctly in the existing mortice or mounting position. For mortice lock replacement specifically, you may need a chisel set to adjust the mortice cavity if the new lock dimensions differ slightly from the old ones. A drill with appropriate bits becomes necessary if you need to remove security pins or create new holes for the replacement lock. Keep a small flashlight or headtorch nearby so you can see clearly inside the lock mechanism and door cavity. Gather your new replacement lock itself, along with any mounting hardware, screws, or shims that came with it. Have your door keys on hand so you can test the new lock once installed.
Beyond tools, assemble some practical materials. Keep a clean cloth or old towel nearby to protect your door surface from scratches. Have some lubricant such as WD-40 or a silicone-based lock lubricant ready, though avoid applying this until after installation is complete. Gather a notepad and pen to record screw sizes, lock specifications, or any measurements you need to reference. If you’re replacing a mortice lock in a wooden door, wood filler may be necessary if the new lock requires a slightly different cavity size. Most importantly, ensure you have adequate lighting in the work area. Poor visibility leads to mistakes that damage your door or compromise the lock’s function.
Practical tip: Lay out all your tools and materials on a clean surface before starting work, and keep your old lock nearby as a reference guide for comparing dimensions and component placement with your new replacement.
Step 4: Remove the existing lock carefully
Removing your old lock requires patience and a gentle touch to avoid damaging your door. Different lock types come out differently, so understanding the specific mechanism you’re dealing with prevents costly mistakes or unnecessary door repairs.
Begin by identifying exactly what type of lock you have from your earlier assessment. For mortice locks, start by removing the handle or knob on both sides of the door. These are typically held in place with a small screw hidden beneath a decorative cover or cap. Unscrew these carefully and set the handles aside in a safe location. Next, locate the fixing screws that hold the lock body itself within the mortice cavity. These screws are usually accessed from the edge of the door or from inside the lock mechanism itself. Remove these screws gently, keeping them organised so you know which screws go where. For Euro cylinder locks, the process differs slightly. Insert your key into the cylinder and turn it to align the cam. You may need to apply gentle pressure while turning to release any binding. Once aligned, look for a small grub screw or retaining clip that holds the cylinder in place. Remove this carefully, then pull the cylinder straight out. When removing lock cylinders carefully, avoid twisting forcefully, as this can snap the cylinder inside the door. For rim locks or rim cylinders mounted on the door surface, unscrew the visible screws that hold the mechanism to the door face. Work methodically from top to bottom, and support the lock with your other hand as you remove the final screw to prevent it from dropping suddenly.
Throughout the removal process, take your time and work systematically. If a screw resists, apply a small amount of penetrating oil and wait a few minutes rather than forcing it. Stop and reassess if something feels stuck or wrong. Once you have removed all components, inspect the mortice cavity or mounting area for any debris or damage. Clean out any dust or old lock fragments with your cloth. Check that the door itself shows no splits, cracks, or enlarged holes that might affect your new lock installation. Keep your old lock components together in case you need them for reference or disposal.
Professional tip: Take photographs of your old lock before removal, paying particular attention to how components are arranged and which way the latch mechanism faces, so you can reference these images if you become uncertain during installation of your replacement lock.
Step 5: Install the new lock securely
Installing your new lock is where precision matters most. Taking time to align components correctly and secure everything properly ensures your lock functions smoothly and provides reliable security for years to come.
Start by preparing the door cavity or mounting area where your new lock will sit. If you are installing a mortice lock, carefully position the lock body within the mortice cavity and check that it sits flush with the door edge. You may need to make minor adjustments with your chisel if the cavity dimensions differ slightly from your old lock. Once positioned correctly, mark the screw holes with a pencil or centre punch. Drill pilot holes at these marks if they are not already present, as this prevents screws from splitting the wood. When marking drill points and securing lock components, accuracy ensures your lock sits square and operates smoothly. Insert the screws through the lock body and into the mortice cavity, tightening them firmly but not excessively. Over-tightening can damage the lock mechanism or warp the door. For Euro cylinder locks, insert the cylinder into the housing from the exterior side and align it with the retaining clip or grub screw hole. Slide the cylinder straight in until it sits flush, then secure it with the retaining clip or screw. Ensure the cylinder turns freely with your key before fully tightening anything.
Next, install the handle or knob components if your lock type requires them. Thread the spindle through the lock body and attach the handles on both sides, ensuring they are parallel and aligned correctly. Tighten the fixing screws evenly, alternating between sides to maintain balance. For the strike plate on the door frame, position it so the latch or bolt enters it smoothly when the door closes. Mark the screw holes, chisel a recess if necessary, and screw it firmly into place. Now comes the critical testing phase. Operate the lock multiple times with your key, checking that the latch retracts smoothly and the bolt extends fully. Close the door and test the lock from both sides. The key should turn without sticking, and the door should lock and unlock reliably. If you notice any resistance or stiffness, stop and investigate before using the lock regularly. Check that the door closes properly without binding or forcing. Minor adjustments to the strike plate position can often solve closing issues.
Expert tip: Test your new lock repeatedly with the door both open and closed before considering the installation complete, as this identifies any binding or misalignment while you can still make adjustments easily.
Step 6: Test and verify proper lock function
Testing your newly installed lock thoroughly before relying on it for security is essential. This step ensures everything operates smoothly, and your door remains secure and functional for everyday use.
Begin with basic operational tests while the door remains open. Insert your key into the lock and turn it slowly, feeling for any binding or resistance. The key should rotate smoothly without requiring excessive force or getting stuck halfway. Operate the lock multiple times, cycling through locked and unlocked positions at least ten times. Listen for the latch or bolt moving cleanly as you turn the key. Watch the internal components if visible to confirm they are moving correctly without jamming. Now close the door and repeat the same tests from both sides. Lock the door from the outside, then test it from inside, ensuring the mechanism works identically from both directions. Open and close the door several times, confirming it closes smoothly without binding or catching. The door should latch automatically if it has a self-closing mechanism, and it should open freely when unlocked. Check that the door sits square within its frame with no gaps that suggest misalignment. When verifying that locks close securely and ironmongery functions properly, you are ensuring your lock meets safety standards that protect your property.
Next, test under real-world conditions. Lock the door when leaving and unlock it when returning, paying attention to how the key feels and how easily the mechanism responds. Does the key turn consistently, or does it feel different from operation to operation? Try locking and unlocking the door in different lighting conditions, including darkness, to ensure it functions reliably. If your property has a secondary door lock, test both simultaneously to confirm they operate independently without interference. Check that the strike plate alignment remains correct by inserting a thin piece of paper between the latch and strike plate when the door is closed. The paper should not slip through easily. If you notice any of these issues during testing, stop using the lock immediately and investigate the problem before relying on it for security. Minor adjustments to strike plate positioning or latch alignment can often be made easily. Pay particular attention to any squeaking, grinding, or unusual noises that might indicate internal damage or misalignment. Document these findings so you can reference them if problems develop later.
Practical tip: Keep a detailed record of how your lock feels and sounds during these initial tests, as this baseline helps you notice any changes in function that might indicate wear or damage requiring future maintenance or professional attention.
Secure Your Property with Expert Lock Replacement from AHLP Locksmiths
Replacing a lock can be complex and demanding because it requires precise assessment of your door type, compliance with British Standards, and proper installation for lasting security. Whether you are upgrading to anti-snap cylinders or fitting multipoint locking on UPVC doors, the key is to ensure your lock meets building regulations and insurance requirements. At AHLP Locksmiths, we understand these challenges and provide professional assistance to protect your home or business from security risks and avoid costly mistakes.
Don’t risk your safety or insurance validity with an incorrect or poorly installed lock. Discover how our locksmith services deliver thorough lock replacements using quality, certified hardware tailored to your specific door and security needs. As a trusted local locksmith serving Bristol and South Gloucestershire, we prioritise careful, non-destructive installations that ensure smooth key operation and reliable locking every time. Take action today to safeguard your property by contacting our skilled team through our online form and arrange your professional lock replacement with peace of mind.
Frequently Asked Questions About Lock Replacement
How do I assess my current lock and door type before replacement?
To assess your current lock and door type, examine the material and construction of the door, noting if it’s wooden, UPVC, or another type. Check the existing lock mechanism by identifying whether it’s a mortice lock, rim lock, or Euro cylinder lock, along with any signs of wear or damage.
What standards should a replacement lock meet for compliance?
A replacement lock should meet the relevant British standards, such as BS 3621 for five-lever mortice locks or BS EN 1303 for Euro cylinder locks. Ensure the chosen lock satisfies your insurance requirements and is suitable for your specific door type.
What tools are necessary for replacing a door lock myself?
Essential tools for replacing a door lock include screwdrivers, pliers, a hammer, a measuring tape, and a drill. Gather these tools and a clean cloth to help ensure a smooth installation process and prevent damage to your door.
How do I remove an existing lock without damaging the door?
To remove an existing lock, gently unscrew the handle and fixing screws, and, for mortice locks, take care when removing the lock body. Be patient and use penetrating oil if the screws resist, ensuring you keep the door intact throughout the process.
What steps should I follow to install a new lock securely?
To install a new lock securely, align it correctly within the door cavity and mark screw holes before drilling pilot holes. Insert and tighten screws gently, then test the lock to ensure it operates smoothly before finalising the installation.
How can I verify that my new lock functions properly once installed?
You can verify your new lock by testing it multiple times while the door is open, ensuring the key turns smoothly and the latch operates without resistance. After closing the door, confirm the lock functions correctly from both sides and test for any unusual noises or sticking.